
Last updated September 20, 2026
Free on-site gate assessment - hinges, posts, and your LiftMaster or Nice gate operator checked before anything is quoted
The assessment is free and the quote is the invoice.
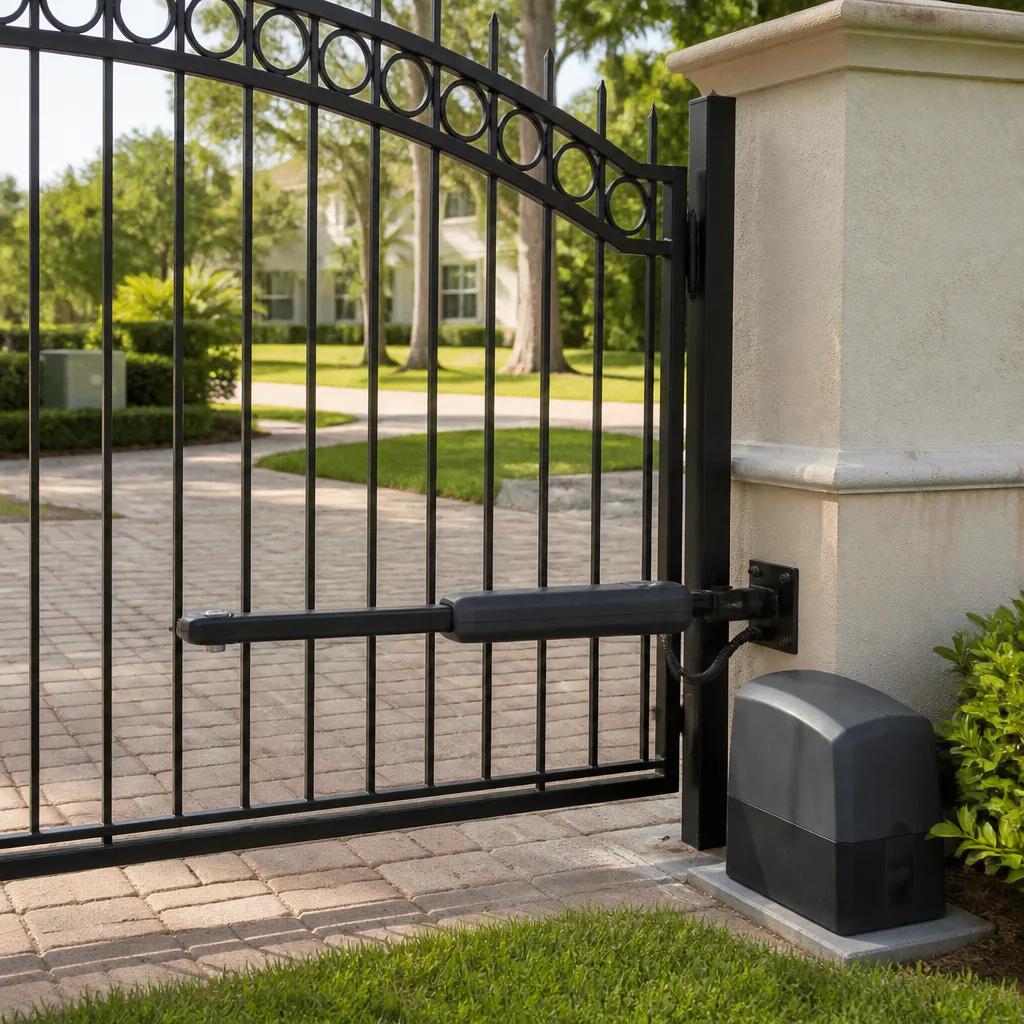
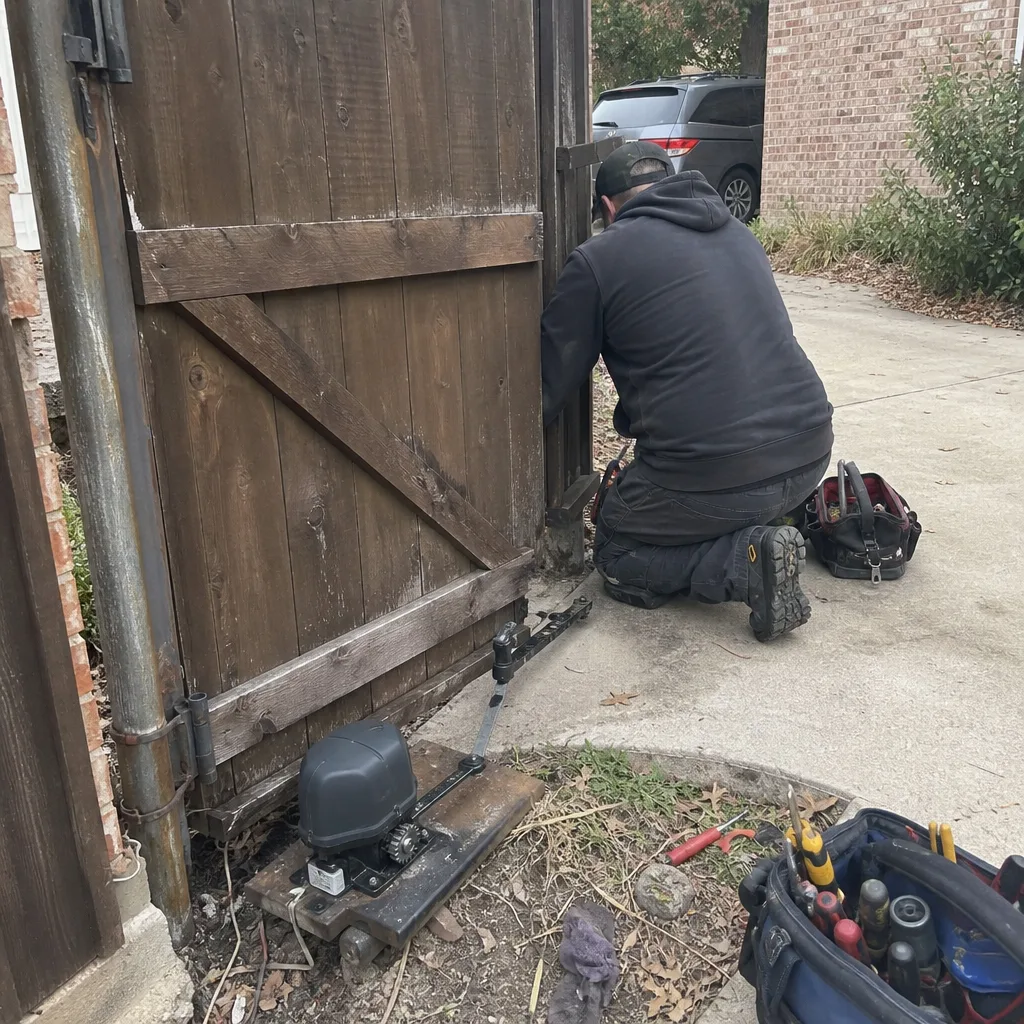 Before
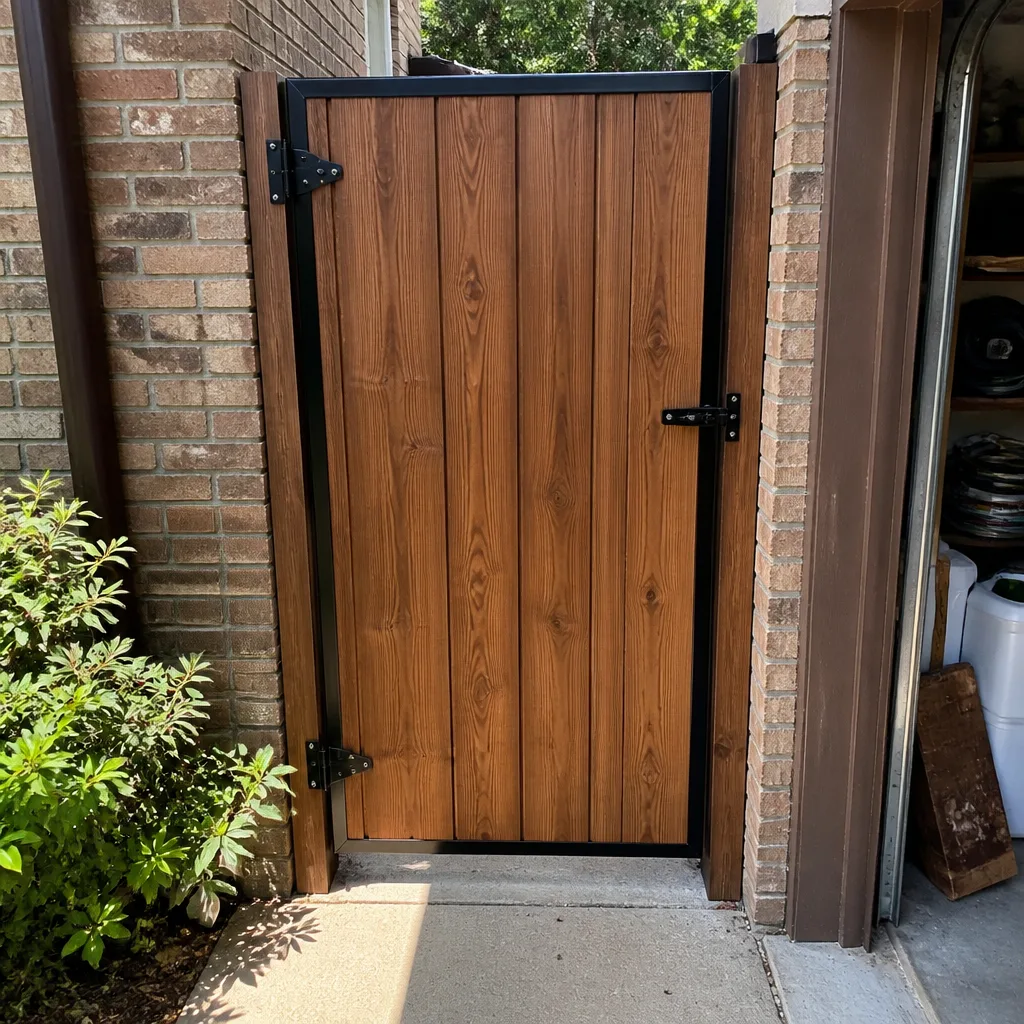 After
After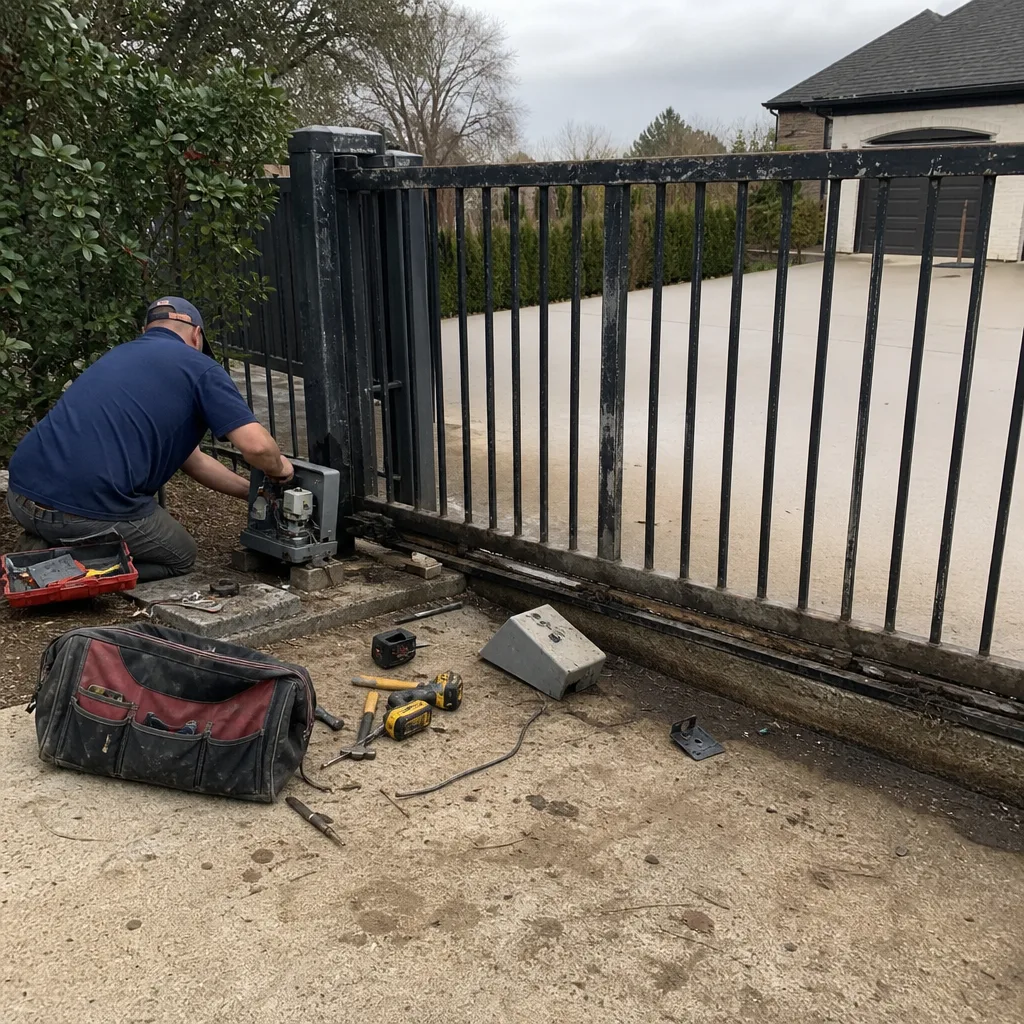 Before
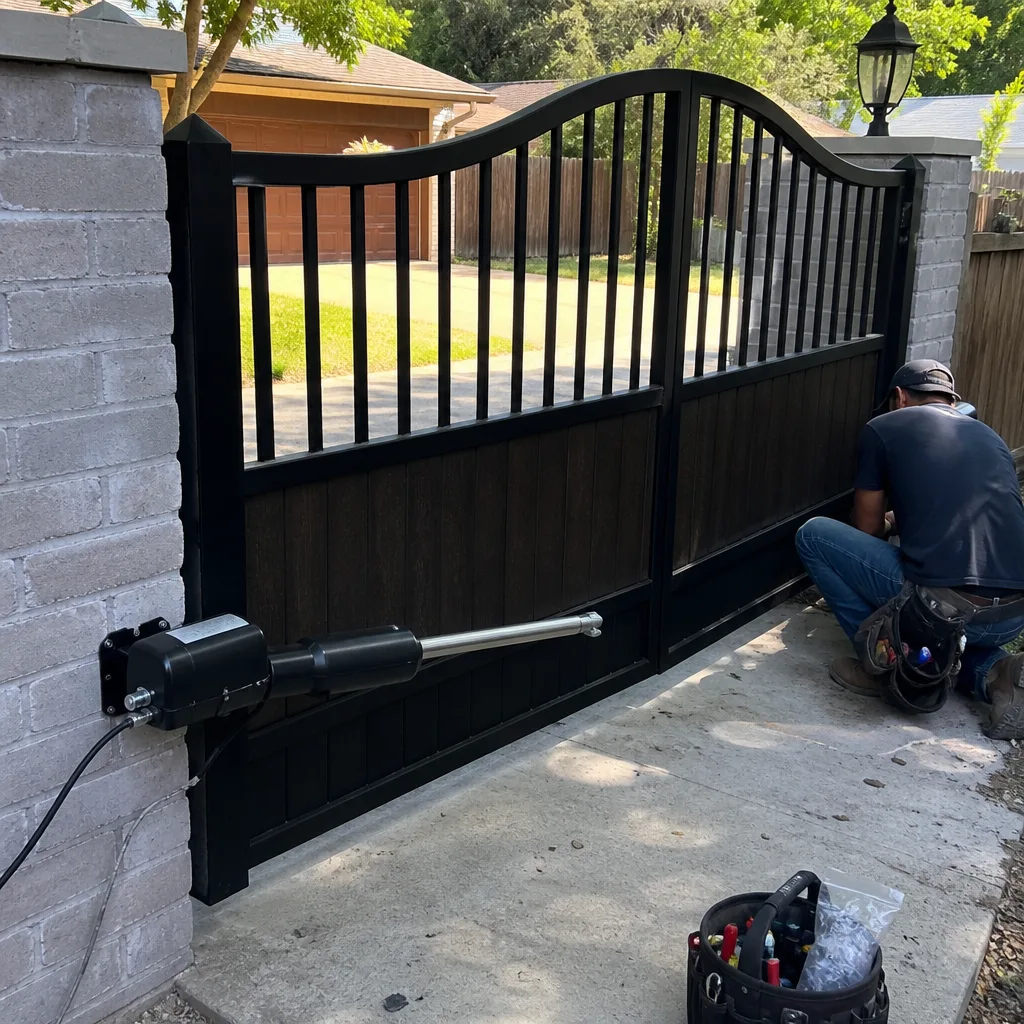 After
After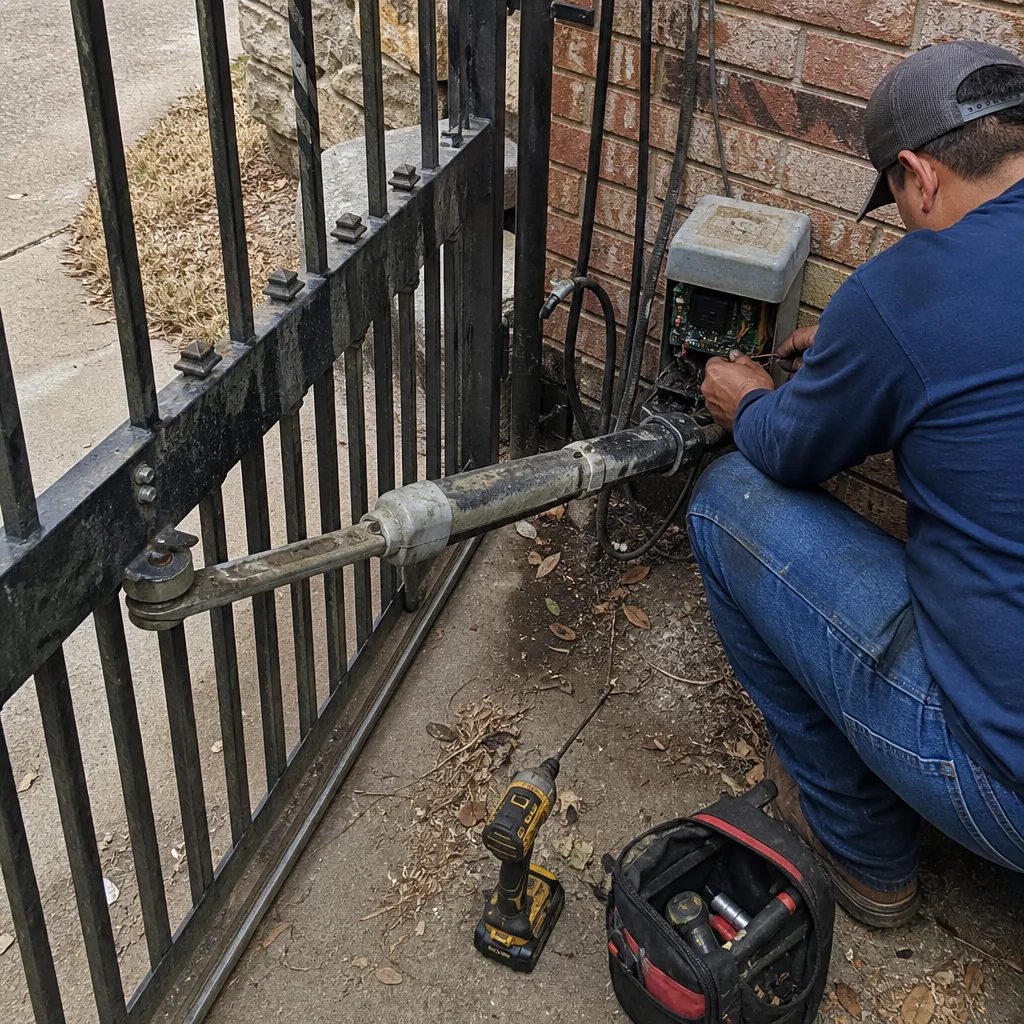 Before
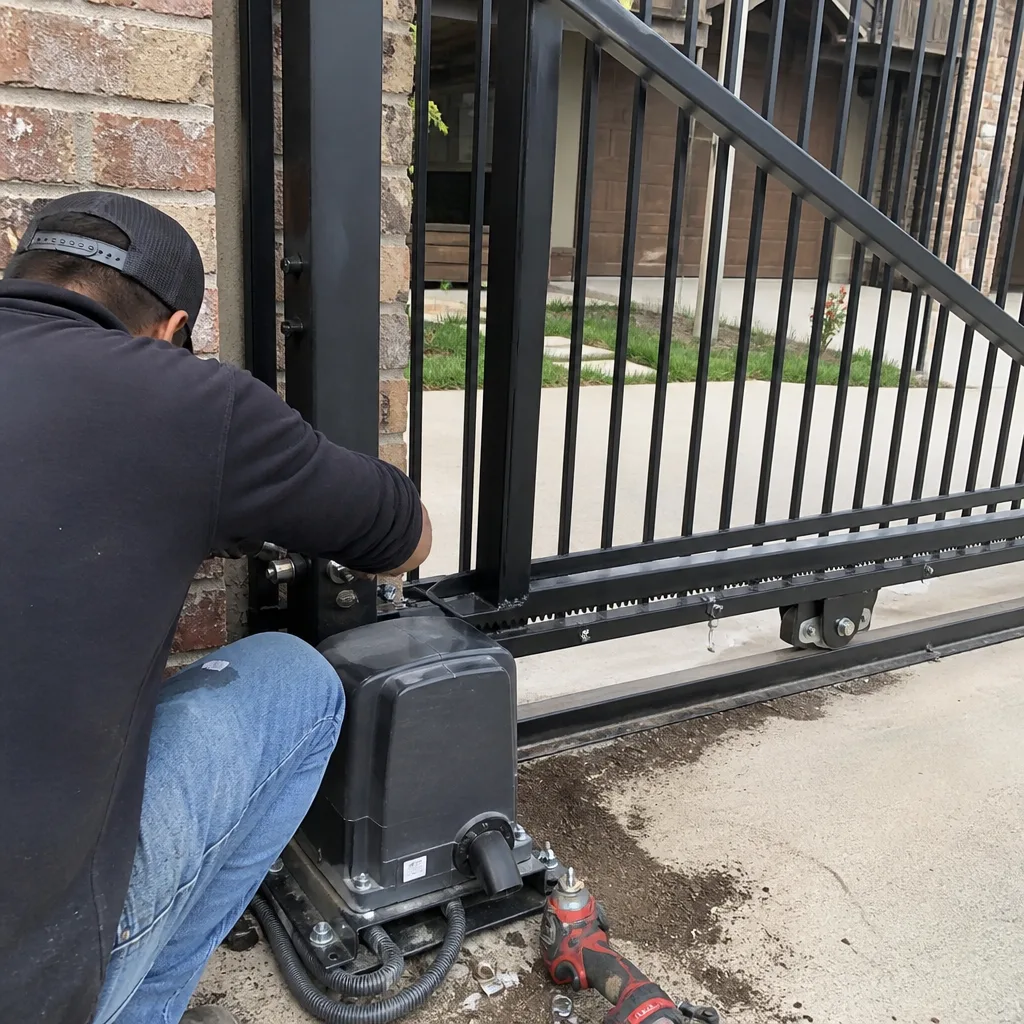 After
AfterGate Repair Maintenance Checklist for Coppell Homeowners
Most gate maintenance guides tell you to lubricate the hinges and listen for strange noises. Here’s what they don’t tell you: a gate operator that sounds perfectly fine can be drawing 40% more current than its rated load, and that number predicts motor failure within one season. You can read it with a $12 clamp meter. Almost no maintenance guide mentions this, which means homeowners in Coppell spend money replacing motors that could have been caught early with one measurement. See our Gate Repair Warning Signs: A Coppell Homeowner’s Reference Guide for additional early indicators. This checklist is built around measurable pass/fail thresholds, not vague action verbs. You’ll know what a healthy gate looks like in numbers, not adjectives.
Quick Answer
Gate Repair services in Coppell mean checking measurable thresholds on hinges, operator current draw, safety sensors, and post drainage every quarter. A healthy swing gate should move with less than 15 pounds of force at the latch edge, and an operator drawing more than 30% over its rated amperage needs a service call before the motor fails. Keep a written log of these numbers, and you’ll catch most failures months before they happen.
Table of Contents
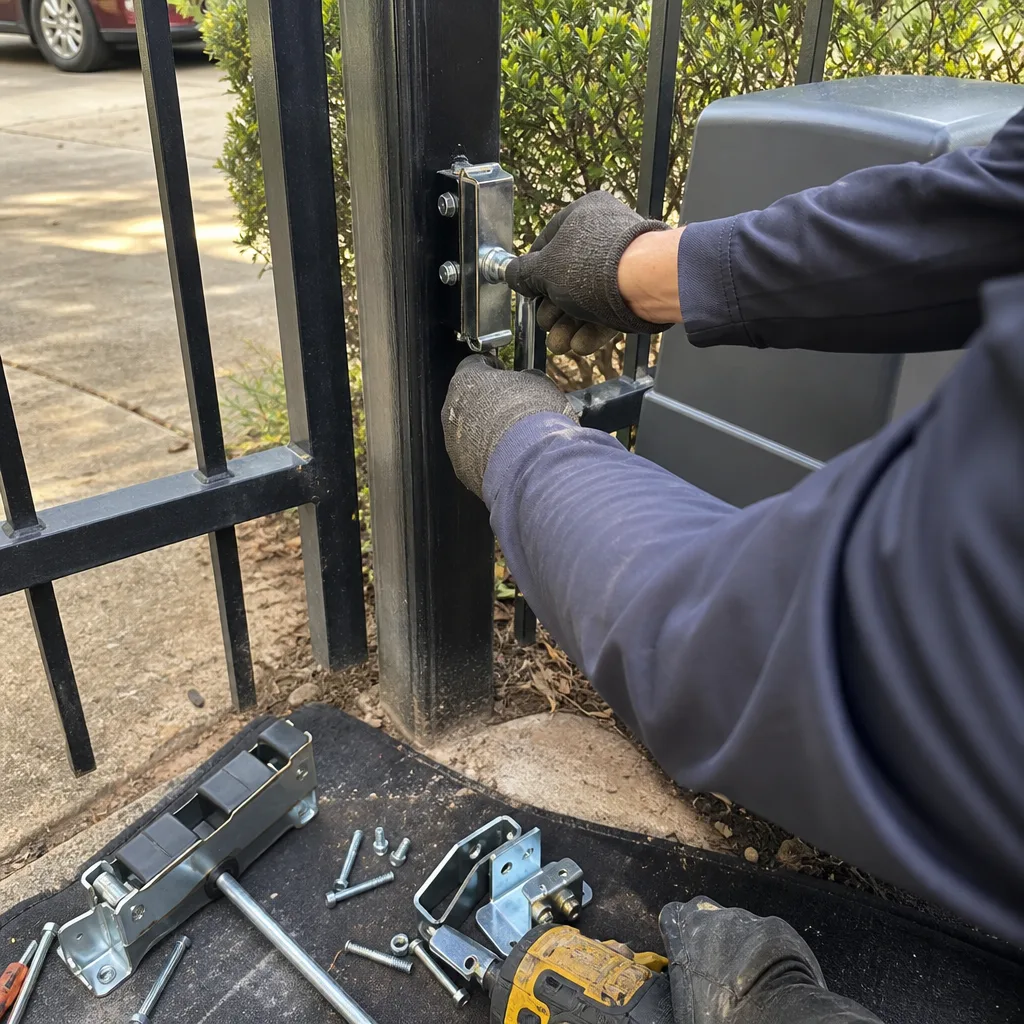
- The Current-Draw Baseline: The Number That Predicts Motor Failure
- Hinge Torque and Resistance: What a Passing Gate Feels Like in Numbers
- Safety Sensor Testing: The Cardboard Test That Saves a Service Call
- Coppell-Specific Inspections: Post Caps, Weld Points, and Clay Soil Movement
- The Quarterly Maintenance Log: Turning Chores into a Documented Asset
- Lubrication Thresholds: When to Grease, When to Replace
- Operator Service Intervals by Brand
- Common Mistakes to Avoid
- When to Call a Professional
- Frequently Asked Questions
- The Bottom Line
 Before
 After
AfterThe Current-Draw Baseline: The Number That Predicts Motor Failure
Every gate operator has a rated current draw printed on its label or in its manual. A typical residential swing gate opener from a brand like LiftMaster or Mighty Mule might list 3.5 amps at full load. That’s the number the motor should pull when the gate is moving smoothly through its travel. When we arrive at a Coppell home where the operator has failed, the first thing we check is what the motor was pulling before it died. In our experience, the pattern is consistent: operators that failed drew 40% or more over their rating for at least a season before the failure.
Here’s how to establish your baseline:
- Buy a clamp meter. A basic model that reads AC amperage costs $12 to $30. You don’t need a professional-grade tool for this.
- Open the operator cover. Disconnect power at the breaker first if you’re not comfortable working near live wiring. A trained technician should handle this if you have any hesitation – gate operators run on 120V or 240V, and the capacitor inside can hold a charge even after the breaker is off.
- Clamp the meter around one motor lead. One wire only, not the whole cable. The meter reads current only when it encircles a single conductor.
- Run the gate through a full open and close cycle. Watch the meter. Record the highest number you see.
- Compare to the nameplate rating. If your operator is rated 3.5 amps and you’re reading 3.8 or 4.1, that’s a 10-18% overage. Worth noting, but not urgent. If you’re reading 4.5 amps or higher, that’s 28% over. Schedule a service call. If you’re reading 4.9 amps, that’s 40% over. The motor is working against something – a bent hinge, a dragging wheel, a failing capacitor – and it will not survive another summer.
Record this number every quarter. That’s the entire point. A single reading tells you what’s happening now. A series of readings tells you what’s changing. When current draw creeps up 5% per quarter, you have a mechanical issue building. When it jumps 15% in one quarter, you have an electrical issue. Either way, you caught it before the operator did.
This is the same documentation habit Vance Gate Repair Coppell home uses on every service call. Before we leave a job, the current draw at idle, at open, and at close is written on the service record and photographed. No future technician has to guess what the operator looked like when it was healthy.
Hinge Torque and Resistance: What a Passing Gate Feels Like in Numbers
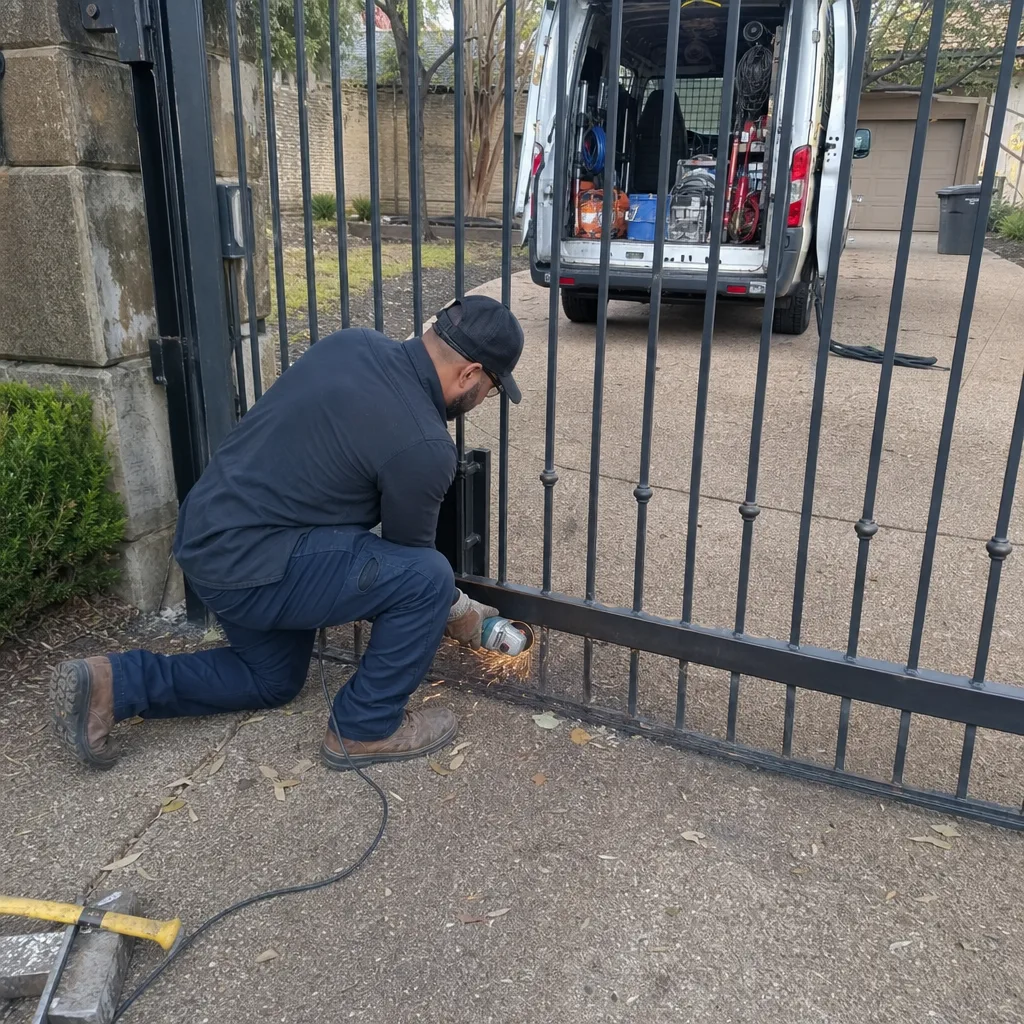
“Check for looseness” is the most useless instruction in gate maintenance. Loose by what standard? A gate that wiggles an eighth of an inch at the latch is different from one that sags half an inch and drags the bottom corner. Here are the thresholds we use in Coppell, where the clay soil shifts seasonally and moves gate posts whether you want it to or not.
The 15-Pound Push Test
Disengage the operator so the gate swings freely. Stand at the latch edge, not the hinge edge. Push the gate open with one hand. Use a fishing scale or a luggage scale hooked to the latch if you want precision. The gate should move with no more than 15 pounds of force at any point in its travel. More than that, and the motor is working harder than it should.
The Lift Test
Grab the gate at the latch edge and lift up and down. More than half an inch of vertical movement means the hinge bearings are worn or the post has settled. On a 14-foot wrought iron gate, half an inch at the latch translates to constant drag at the bottom corner, which wears the operator out years early.
The Drag Marks Test
Look at the bottom edge of the gate and the concrete or asphalt beneath it. Visible scrape marks on the driveway are a fail. The gate should clear the ground by at least 2 inches at its lowest point. In older Coppell subdivisions with mature trees and shifting soil, we regularly see gates that were installed with proper clearance and have lost an inch or more as the post settled over a decade.
Weld-Point Rust Checks
Wrought iron gates in Coppell’s older subdivisions – we see this often in neighborhoods built in the 1980s and 1990s – develop rust at weld points where the protective coating was burned off during fabrication. Rust at a weld is different from surface rust on a flat section. Surface rust is cosmetic. Weld rust is structural. Check every weld joint where horizontal pickets meet the vertical frame. If you see orange flaking or can push a screwdriver tip into the weld, that joint needs grinding and re-welding before it fails under load.
Safety Sensor Testing: The Cardboard Test That Saves a Service Call
A photo-eye is the infrared beam that stops the gate if something crosses the path while the gate is moving. Most manufacturers recommend testing it monthly. Most homeowners never test it at all. Then a sensor drifts out of alignment, the gate reverses for no apparent reason, and the homeowner pays a technician $125 to straighten a bracket with a screwdriver.
Here’s the test we recommend before you make that call:
- Start the gate closing. Stand clear of the travel path.
- Hold a piece of cardboard in the path of the gate. A shipping box flap works fine. It needs to be at the height of the photo-eye beam, which is usually 12-18 inches off the ground.
- Watch what happens. A properly aligned and calibrated photo-eye will reverse the gate within one second of the beam being interrupted. The gate should not touch the cardboard.
- Test both directions. Run the same test while the gate is opening. The sensor should reverse the gate in both travel directions.
- Check the indicator light. Most photo-eyes have a small LED. A solid light usually means aligned. A blinking light means misaligned or blocked. If yours blinks, remove any debris, wipe the lens with a dry cloth, and retest.
If your gate passes the cardboard test in both directions, your sensor is aligned and responding. The problem, if you’re having one, is elsewhere. If the gate touches the cardboard before reversing, or doesn’t reverse at all, the sensor needs alignment or the force sensitivity on the operator needs adjustment. That’s a professional service call – not because the adjustment is complicated, but because setting the force limit too high creates a crush hazard, and setting it too low makes the gate stop randomly.
The UL 325 standard for gate safety requires two independent entrapment protection devices on every automated gate. Most Coppell homes have a photo-eye and a current-sensing circuit that reverses the motor if it hits resistance. Both need to work. The cardboard test checks one. A technician with a force gauge checks the other.
Coppell-Specific Inspections: Post Caps, Weld Points, and Clay Soil Movement
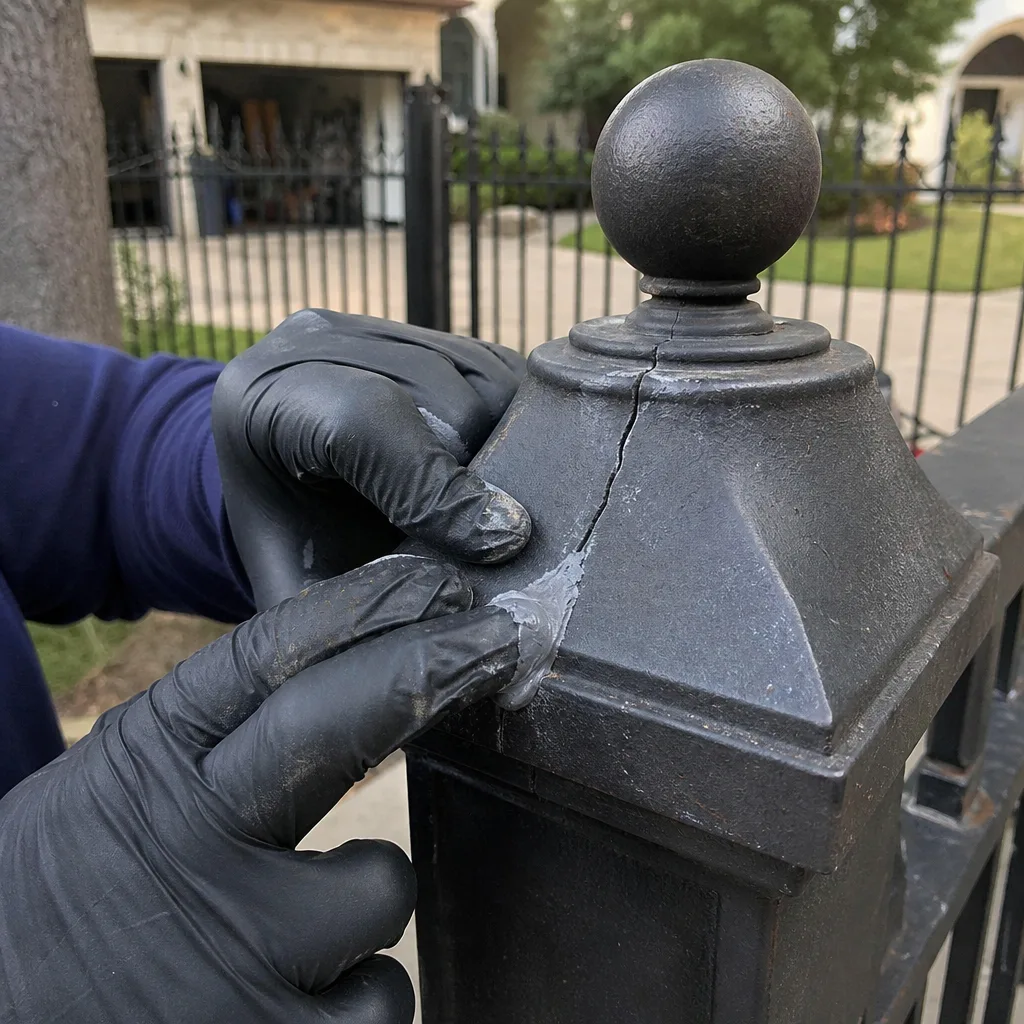
Coppell sits on the northern edge of the Blackland Prairie, which means expansive clay soil. The soil swells when wet and shrinks when dry. Over years, that movement pushes gate posts out of plumb and misaligns hinges. Every Gate Repair in Coppell job we’ve done that involved a gate dragging on the ground traces back to post movement.
Post-Plumb Check
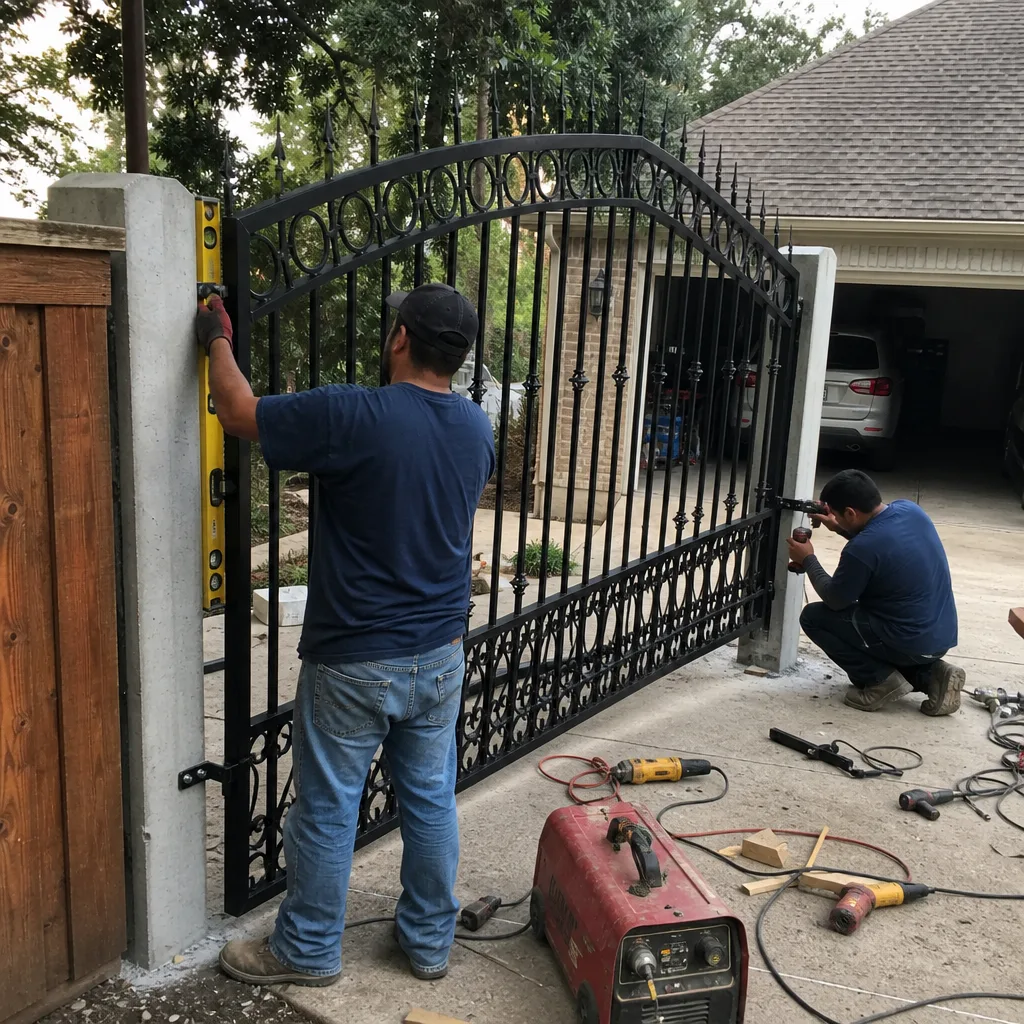
Place a 4-foot level vertically against the hinge post and the latch post. Both should read plumb in two directions – front-to-back and side-to-side. More than a quarter inch of gap at the top of the level is a fail. The gate will never close properly on misaligned posts, no matter how much you adjust the operator.
Post-Cap Drainage Inspection
After heavy rain, check the top caps on each gate post. If the cap is cracked, missing, or tilted, water gets inside the post. In a Coppell freeze, trapped water expands and splits the post from the inside. A replacement post cap costs $15 to $40. A replacement post costs $400 to $900 installed. This inspection takes 30 seconds.
Here’s the sequence after every heavy rain:
- Look for standing water inside the post. Use a flashlight. If water is pooled at the bottom, the post has no drainage and the cap failed.
- Check the base of the post for rust stains. Orange streaks running down from the cap mean water is getting in and rusting the post from the inside.
- Tap the post with a hammer. A solid ring means the post is intact. A dull thud means internal rust or cracking.
Gate Wheel and Track Inspection
If your gate is a slide gate, the wheels run on a track that collects dirt, leaves, and clay silt after rain. Coppell’s clay soil turns to mud that dries into concrete-hard deposits on the track. Every quarter, sweep the track and check the wheels for flat spots. A flat spot on a wheel makes the gate thump on every revolution, and that vibration works its way into the operator’s gearbox.
The Quarterly Maintenance Log: Turning Chores into a Documented Asset
Here’s the part most checklists skip: what to do with the numbers once you collect them. For more guides & resources, see our blog. Write them down. Photograph the page. Store it somewhere you’ll actually find it. A note on your phone works. So does a printed sheet taped inside the operator cover.
Here’s the log format we recommend, and it’s the same format we leave with every Coppell customer after a service visit:
- Date and time of inspection
- Current draw at idle: ___ amps
- Current draw at open: ___ amps
- Current draw at close: ___ amps
- Force to move gate manually: ___ pounds
- Vertical play at latch edge: ___ inches
- Photo-eye test result: pass / fail
- Post plumb reading: pass / fail
- Rust observations: location and severity
- Any lubricant applied: type and location
Why this matters: when a technician arrives at your gate in three years, they’ll see exactly what your gate looked like when it was healthy. The alternative is a service call where the technician starts from zero and spends the first hour re-diagnosing conditions you could have documented in ten minutes. The Gate Motor & Opener in Coppell work we do always includes this baseline, because a motor that’s been losing current-draw efficiency for a year tells a different story than one that failed suddenly.
Lubrication Thresholds: When to Grease, When to Replace
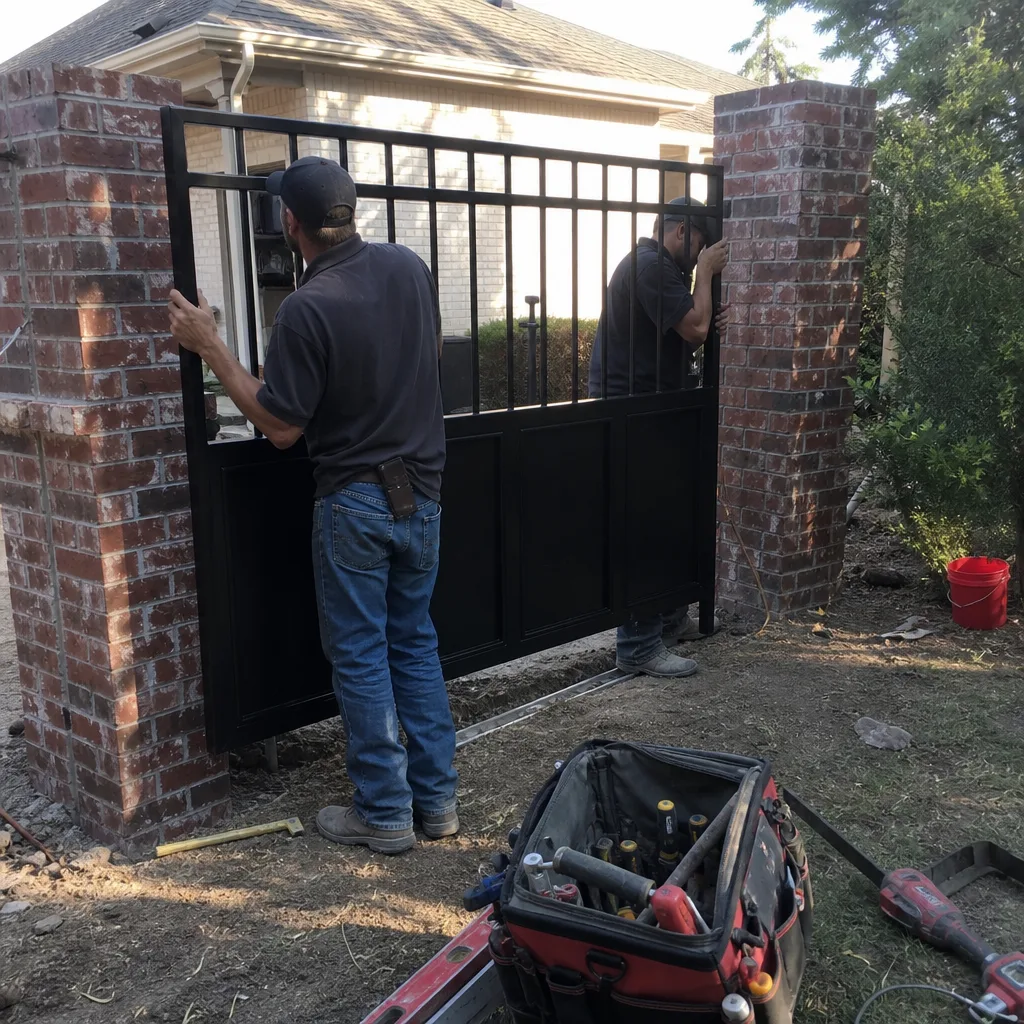
Lubrication is the one maintenance task every guide includes, and almost all of them get it wrong. They tell you to lubricate the hinges, but they don’t tell you what lubricant to use, how much to apply, or when lubrication has stopped being the answer.
Here’s the rule set we use:
- Hinge points get a dry-film lubricant or a light machine oil. Not WD-40. WD-40 is a solvent, not a lubricant. It washes away existing grease and leaves the metal bare. Use a silicone spray or a Teflon-based lube.
- Grease fittings on commercial operators get a lithium grease gun once a year. Most residential operators don’t have grease fittings. If yours does, it’s likely a heavier unit, possibly a DoorKing or Elite model, and the manual will specify the grease type.
- Chains on slide gates get a chain-specific lubricant. Motorcycle chain lube works. It clings without flinging and doesn’t attract dirt the way gear oil does.
- The operator’s internal gears do not need homeowner lubrication. Opening the operator housing to grease the gears voids the warranty and introduces debris into a sealed system. If the operator sounds rough, the gear is already worn, and grease won’t bring it back.
Critical threshold: if lubricating a hinge makes the gate quiet for two weeks and then the noise returns, the hinge bearing is worn out. Grease masks the symptom. It doesn’t fix the cause. A worn hinge bearing under lubricant still drags, still draws more current, and still burns out the motor. At that point, the hinge needs replacement, not lubrication.
Operator Service Intervals by Brand
Different operators have different service expectations. What’s normal for a Mighty Mule is unacceptable for a LiftMaster. Here’s what we service most often in Coppell and what each brand needs:
- Mighty Mule: Entry-level residential operators, often DIY-installed. They’re designed for lighter gates and shorter duty cycles. Service expectation: check the limit switches and force settings every six months. These units drift out of adjustment more than heavier-duty brands because the components are lighter.
- LiftMaster: Mid-range to heavy residential and light commercial. The LA500 series is common on Coppell driveway gates. Service expectation: annual inspection of the belt or chain tension and the capacitor. Capacitors on these units age with heat, and a Coppell summer adds measurable wear.
- DoorKing: Heavy-duty operators, often found on larger or older Coppell properties. Service expectation: gearbox oil change every 3-5 years depending on use. The gearbox on a DoorKing is its heart, and when it runs dry, it fails destructively.
- Elite: Residential swing and slide operators known for smooth operation. Service expectation: check the motor brushes at year five and every two years after. Worn brushes cause the motor to draw more current and run rough.
The service interval isn’t a brand loyalty thing. It’s a mechanical reality. A lighter operator on a heavier gate needs more attention. If you don’t know which operator you have, open the cover and read the label. The brand, model, and rated amperage are printed there, and that’s the first thing we document when we arrive.
Common Mistakes to Avoid
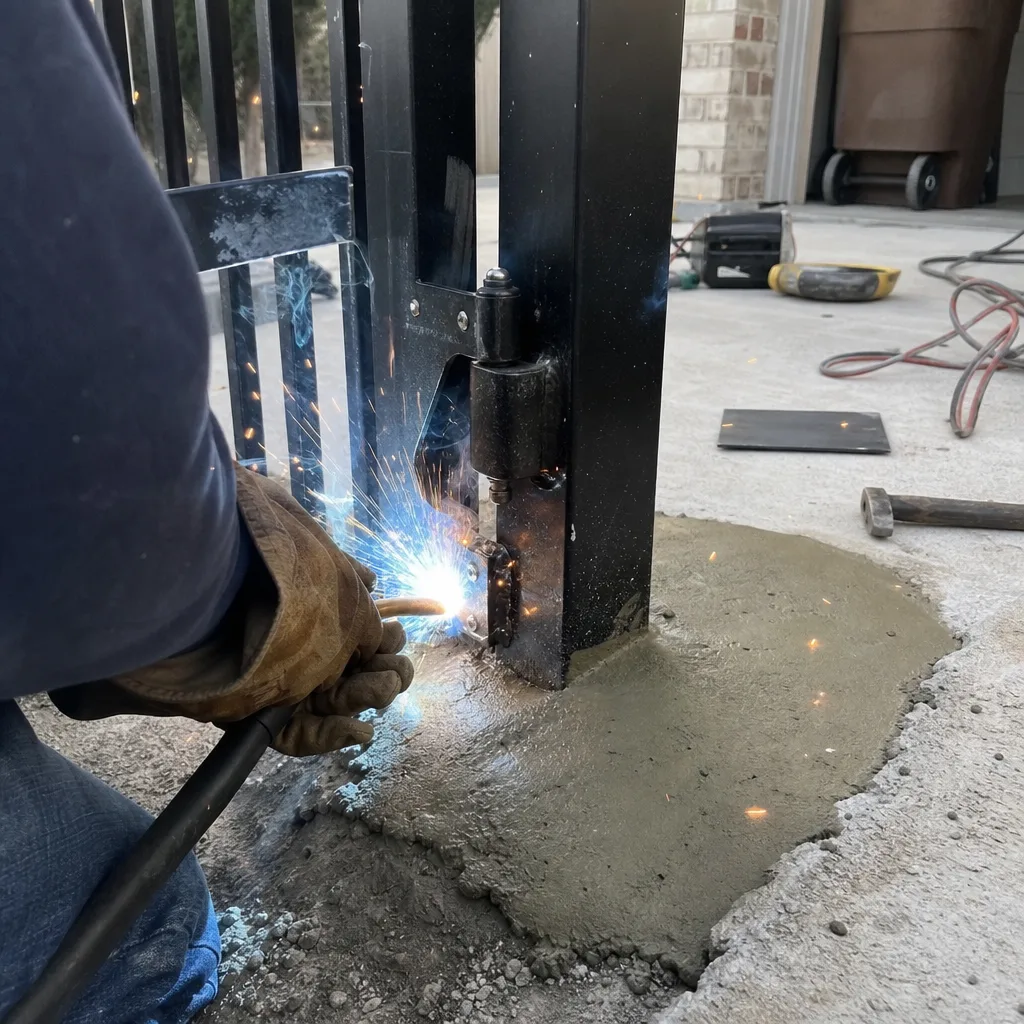
- Lubricating without measuring first. Grease makes a rough hinge quiet for a while, which convinces you the problem is solved while the bearing continues to wear. Measure the force to move the gate before you lubricate. If lubrication drops the force back under 15 pounds, the hinge was dry. If not, the hinge is worn.
- Ignoring the force setting on the operator. When a gate starts reversing for no reason, the temptation is to increase the force setting until it closes. That overrides the safety circuit and turns the gate into a crush hazard. If the gate needs more force than it did when it was new, the mechanical problem is getting worse, not better.
- Testing sensors only when the gate misbehaves. By the time a sensor fails, the gate has been operating without entrapment protection for weeks or months. Test monthly. The cardboard test takes 60 seconds.
- Using WD-40 on hinges. It’s a solvent, not a lubricant. It strips the existing grease and leaves the metal dry. Use silicone or Teflon spray.
- Skipping the post-cap check after rain. In Coppell’s clay soil, water trapped in a post is the single most preventable cause of post replacement. A $15 cap beats a $700 post.
- Not recording current draw. A single reading won’t save you. A trend line will. Write the number down every quarter and watch for the climb.
- Opening the operator housing to “service” the internals. The sealed gearbox and circuit board inside are not designed for homeowner maintenance. Opening it voids the warranty and introduces dust and moisture. If the operator needs internal work, it needs a technician.
When to Call a Professional
Call when the current draw is 30% or more over the nameplate rating for two consecutive quarters. Call when the gate fails the cardboard test in either direction. Call when you see rust at a weld joint that catches a screwdriver tip. Call when the post is out of plumb by more than a quarter inch per foot of level. Call when the operator makes a grinding noise that lubrication doesn’t fix. Call when you’re not comfortable doing any of this – gate operators run on line voltage, and the springs on a counterweighted gate store enough energy to break fingers.
Vance Gate Repair Coppell offers free estimates in Coppell – call (817) 674-6552. Every visit includes a written price before work starts and a documented photo record when the technician leaves. Gate Installation in Coppell is part of what we do, but most of our work is repairing and maintaining what’s already on the property, and we service whatever brand is already installed.
Frequently Asked Questions
Quarterly checks for current draw, hinge resistance, and sensor function, with an additional post-cap and drainage inspection after every heavy rain. Coppell’s clay soil means post movement happens seasonally, so the quarterly rhythm catches changes as they build rather than after they’ve failed.
Current draw. A motor pulling 40% over its rated amperage will fail within a season, and the measurement takes two minutes with a $12 clamp meter. Record the number every quarter and watch the trend.
Run the gate and hold a piece of cardboard in the photo-eye beam path. The gate should reverse within one second without touching the cardboard. Test in both directions. If it passes, your sensor is aligned and responding. If not, schedule a service call at (817) 674-6552.
Check the post caps for cracks, check inside the posts for standing water, look for rust stains running down from the caps, and tap the posts with a hammer to listen for the dull thud that means internal rust. Coppell’s freeze-thaw cycle turns trapped water into a post splitter.
Most hinge replacements run between $180 and $420 depending on gate weight and post condition. Operator replacements run between $650 and $1,800 depending on brand and horsepower. Sensor alignment is usually a $95 to $150 service call. Every quote is written and handed over before any work starts.
Most of it, yes. The hinges, the cardboard test, the drainage checks, the log – all homeowner-accessible. The current-draw measurement is safe if you’re comfortable with a clamp meter and the breaker panel. Anything involving high-tension springs, the operator’s internal wiring, or a post that’s moved out of plumb should be left to a trained technician. Safety circuits that aren’t set correctly turn a gate into an entrapment hazard.
The Bottom Line
The difference between a gate that lasts 20 years and one that fails in 8 is whether anyone was watching the numbers. Current draw, hinge resistance, sensor response, post plumb – these are measurable thresholds, not vague condition reports. A $12 clamp meter and a quarterly 15-minute inspection will catch most failures before they happen. Write the numbers down. Photograph the page. Store it somewhere you’ll find it. If the numbers start moving in the wrong direction, call (817) 674-6552 and we’ll come look at it. The estimate is free, it’s in writing before we touch anything, and you’ll get a photo record of exactly what we found.
Written by Adrian Vance, Owner at Vance Gate Repair Coppell, serving Coppell since 2014.